
How would you usually expect to see art on paper displayed in a gallery? The answer, of course, is with a bevelled mount within a glazed picture frame. This is a tradition from the end of the nineteenth century which still holds strong today.
Many contemporary artists now seek to free their work from these constraints often with exciting new visual results.
A mount and frame though provide protection for a hygroscopic material like paper from fluctuations in humidity, dirt and dust, so when paper is displayed unframed in a gallery environment it can be vulnerable. As a paper conservator, I work closely with curators, artists and art technicians to find the safest way to show art on paper unframed. This sort of problem solving is an exciting but testing challenge.
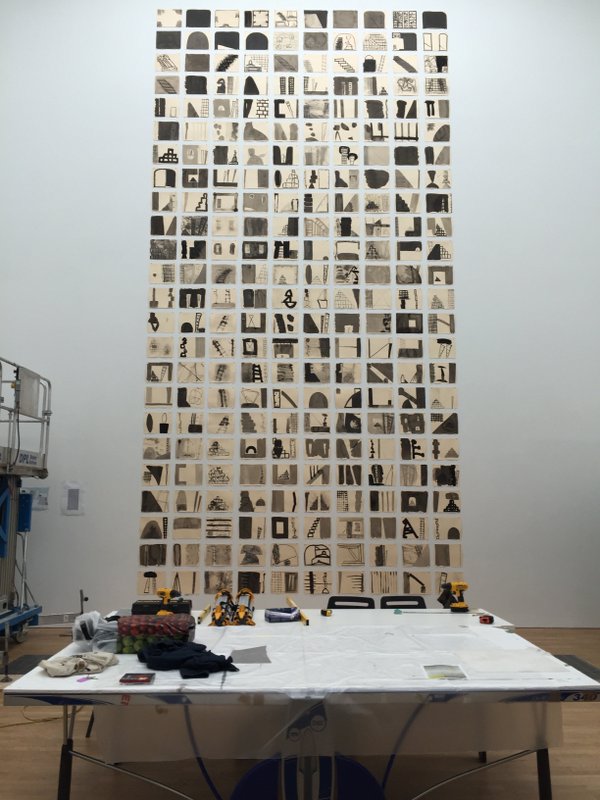
Installation of drawings by Basil Beattie, mima, 2017
It would seem all too easy to attach the artworks to the gallery walls with pins, tape, adhesive or Blu-Tack but the challenge is to ensure that the paper is protected as far as possible with archival or acid-free materials. A further demand is that the method must be simple to both reverse and repeat at the next venue if necessary. Blu-tack, for example, would never be recommended, as the oils within it soon stain the paper.
One such project I undertook was for the launch of mima, Middleborough’s contemporary art venue, in 2007, to display Ink on Paper (2001) by Ceal Floyer, a set of twelve chromatographic marks on blotting paper. The individual sheets were mounted onto a rigid mount board, cut slightly smaller than the artwork, using hinges of Japanese paper. The mount board was then attached to a narrow maple wood frame via Velcro tabs. This meant the work appeared to float free of the wall but could still be securely attached with metal hangings.

Ceal Floyer, Ink on Paper, mima, 2007
To get a more flush appearance of the artwork to the wall, a ‘split baton’ can be made from mount board, as I did recently to display work by Keith Haring at Tate Liverpool. One slot is attached to the back of the mounted artwork and the other is screwed to the wall. The two halves of the ‘baton’ then slot together.
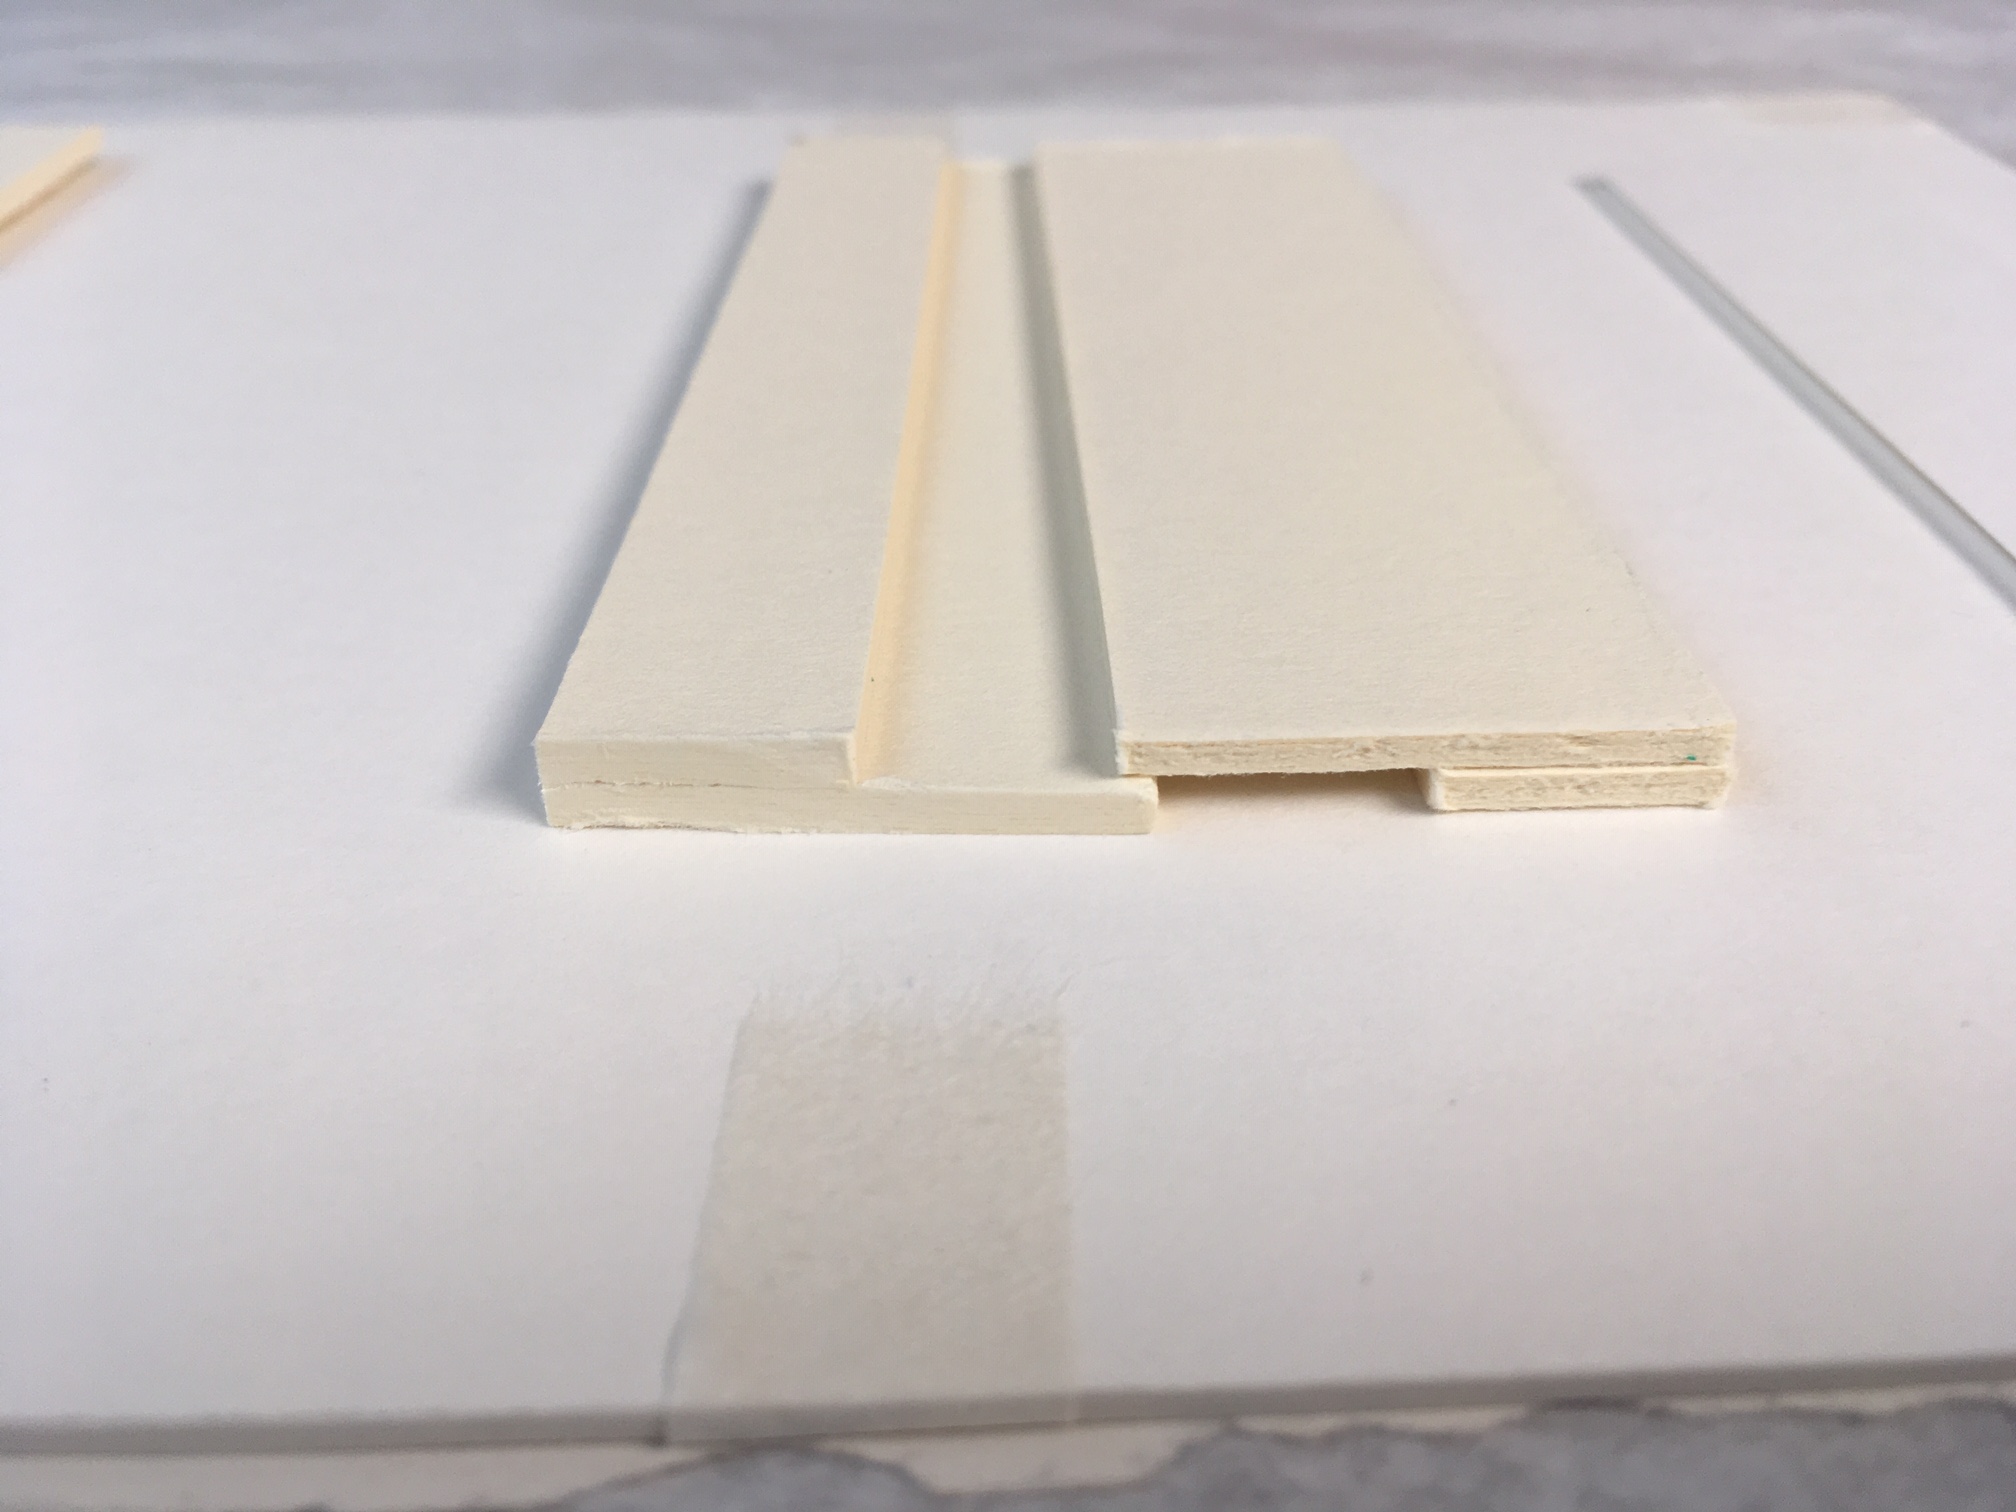
‘Split baton’ made from 2200 micron mount board
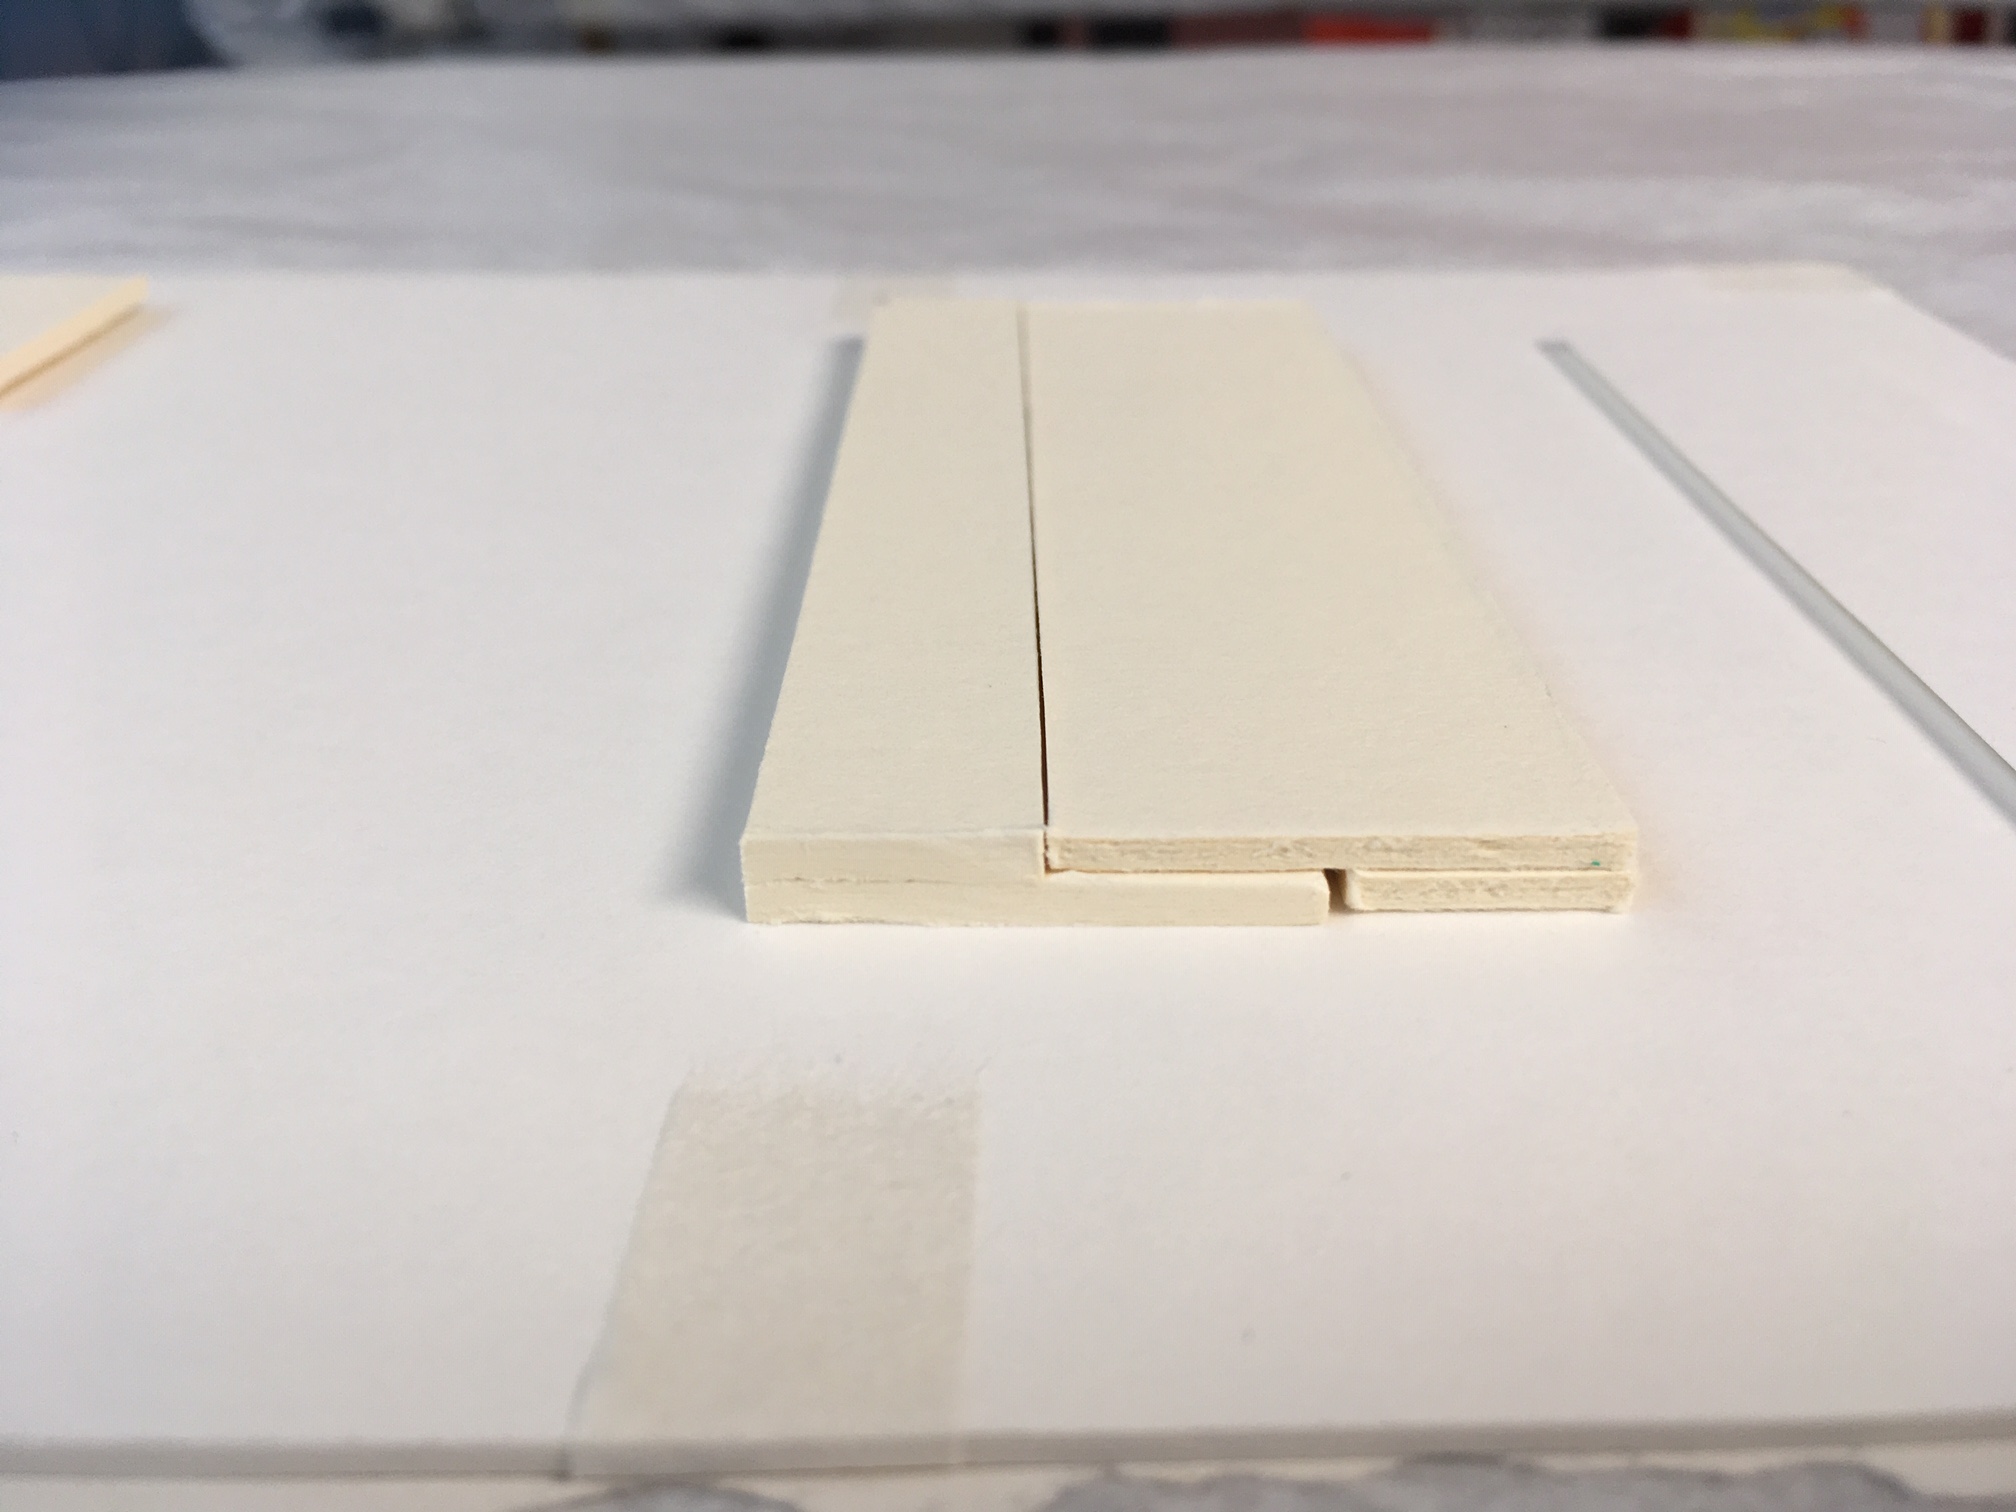
Demonstrating closed ‘split batons’. One half is screwed to the wall, the other adhered to the back of the mount board
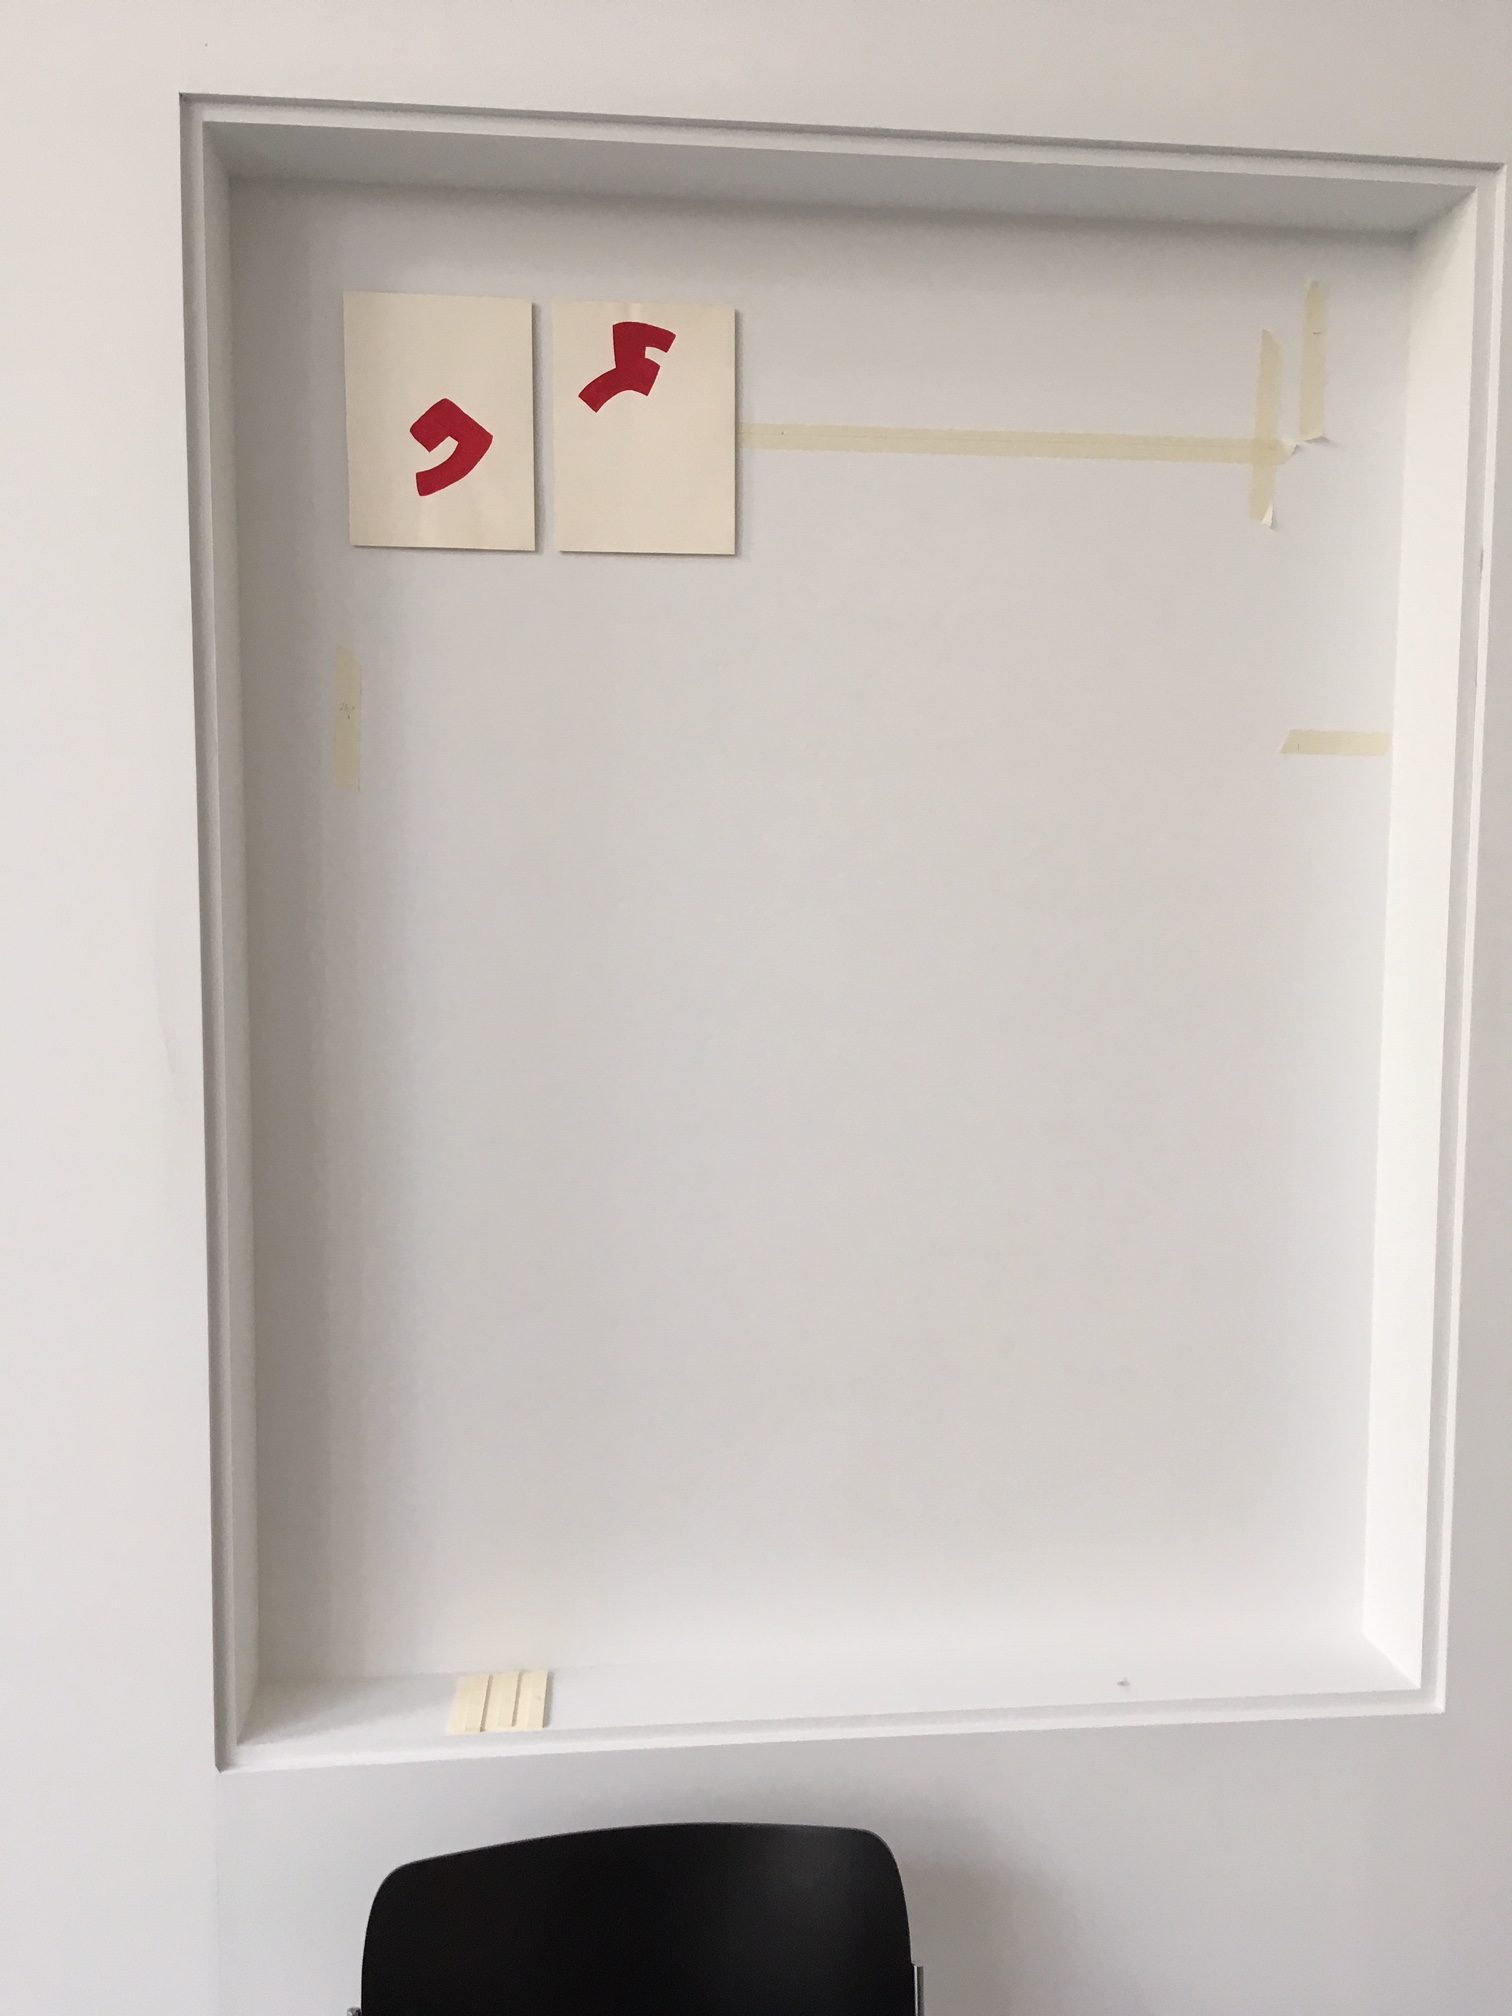
Commencing installation of Keith Haring drawings, Tate Liverpool, 2019
Velcro can support considerable weight, even with quite small tabs. I avoid pressure-sensitive tapes with rubber adhesives as these can stain. Even with more ‘permanent’ acrylic-adhesive tapes, the bond can slip during the course of an exhibition and is difficult to remove. Ideally Velcro ribbon can be stapled to walls and adhered to the back of mounted artworks with an adhesive such as the synthetic, BEVA 371® unsupported film or more traditional wheat starch paste.

Printed clay monotypes by Julian Stair, mima, Quietus, 2012, held in place with Velcro
Sometimes the artist requests pins although there is a risk of holes tearing or getting rust stains. One thing to remember is that gallery walls are usually made from a rock hard composite material and a tiny drill bit is needed to create a pilot hole for each pin. Pins can be used for hanging even large works on paper. Pin holes can be strengthened on the back of the paper with a lightweight, non-woven polyester fabric to prevent tearing. Artists should be aware that large, machine-made papers have a strong grain direction and, over the course of a show, papers can undulate or sag if only held by two corners.

Large format prints by Andrea Buttner held to the gallery wall with pins, Turner Prize Show 2017, Ferens Art Gallery, Hull
Inert polyester or foam washers can be made to help pad a wider pin head used to ‘clip’ the edges of the paper. A metal pin with a white plastic head from hardware shops is useful for this. Bent pins of brass or stainless steel can be fabricated to secure a mounted work on paper behind a single sheet of polished-edge, acrylic. These examples were at mima again and no adhesive needed to be applied to the artworks.
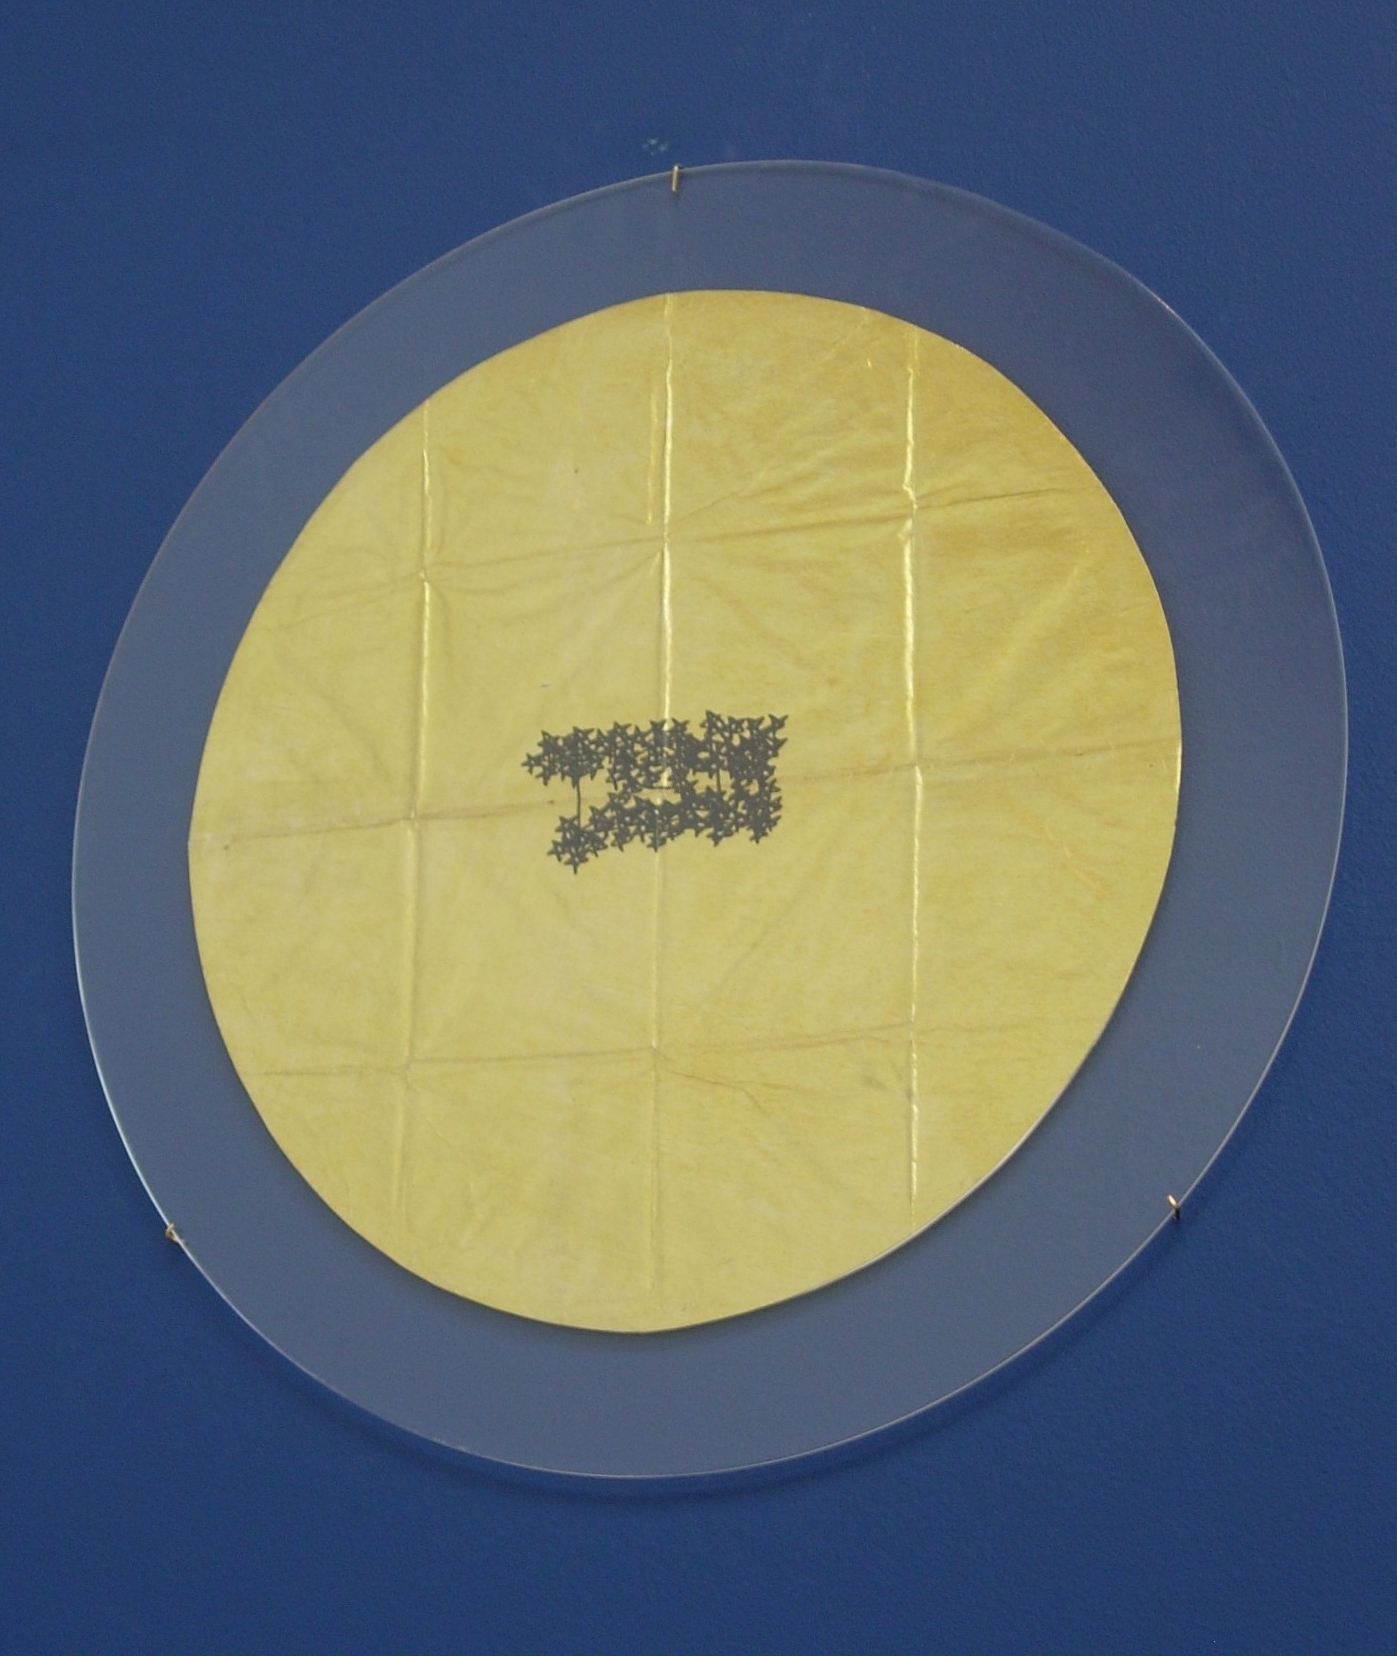
James Lee Byars, Golddust, displayed at mima with circular acrylic glazing and brass L-pins
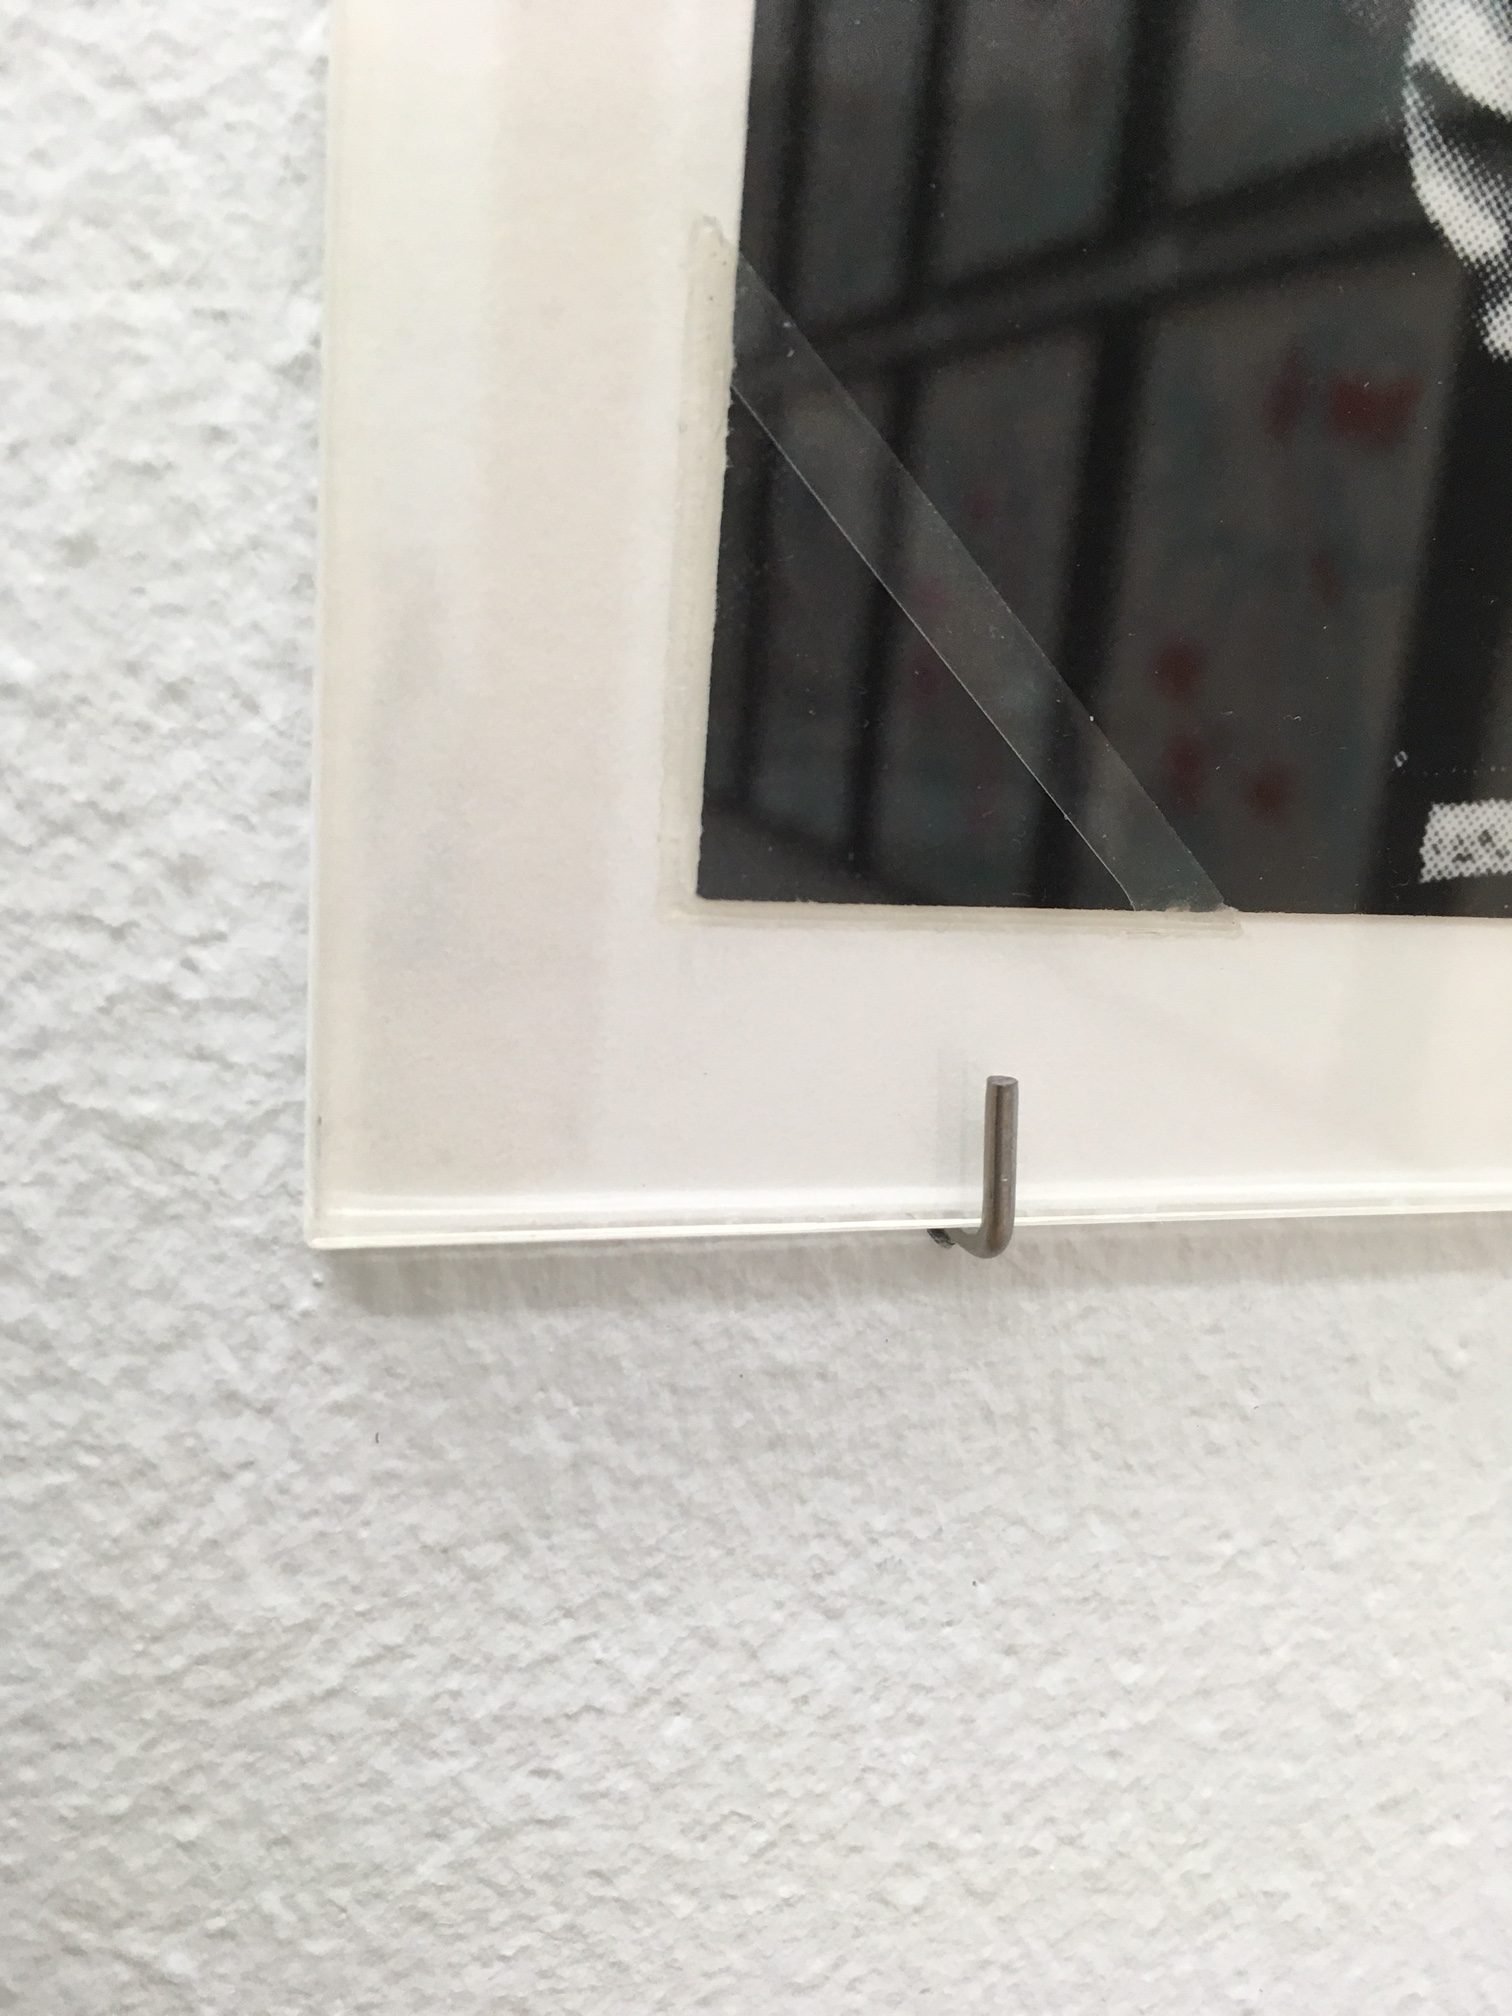
Detail of polished-edge acrylic and stainless steel, L-pin in front of Mierle Laderman Ukeles
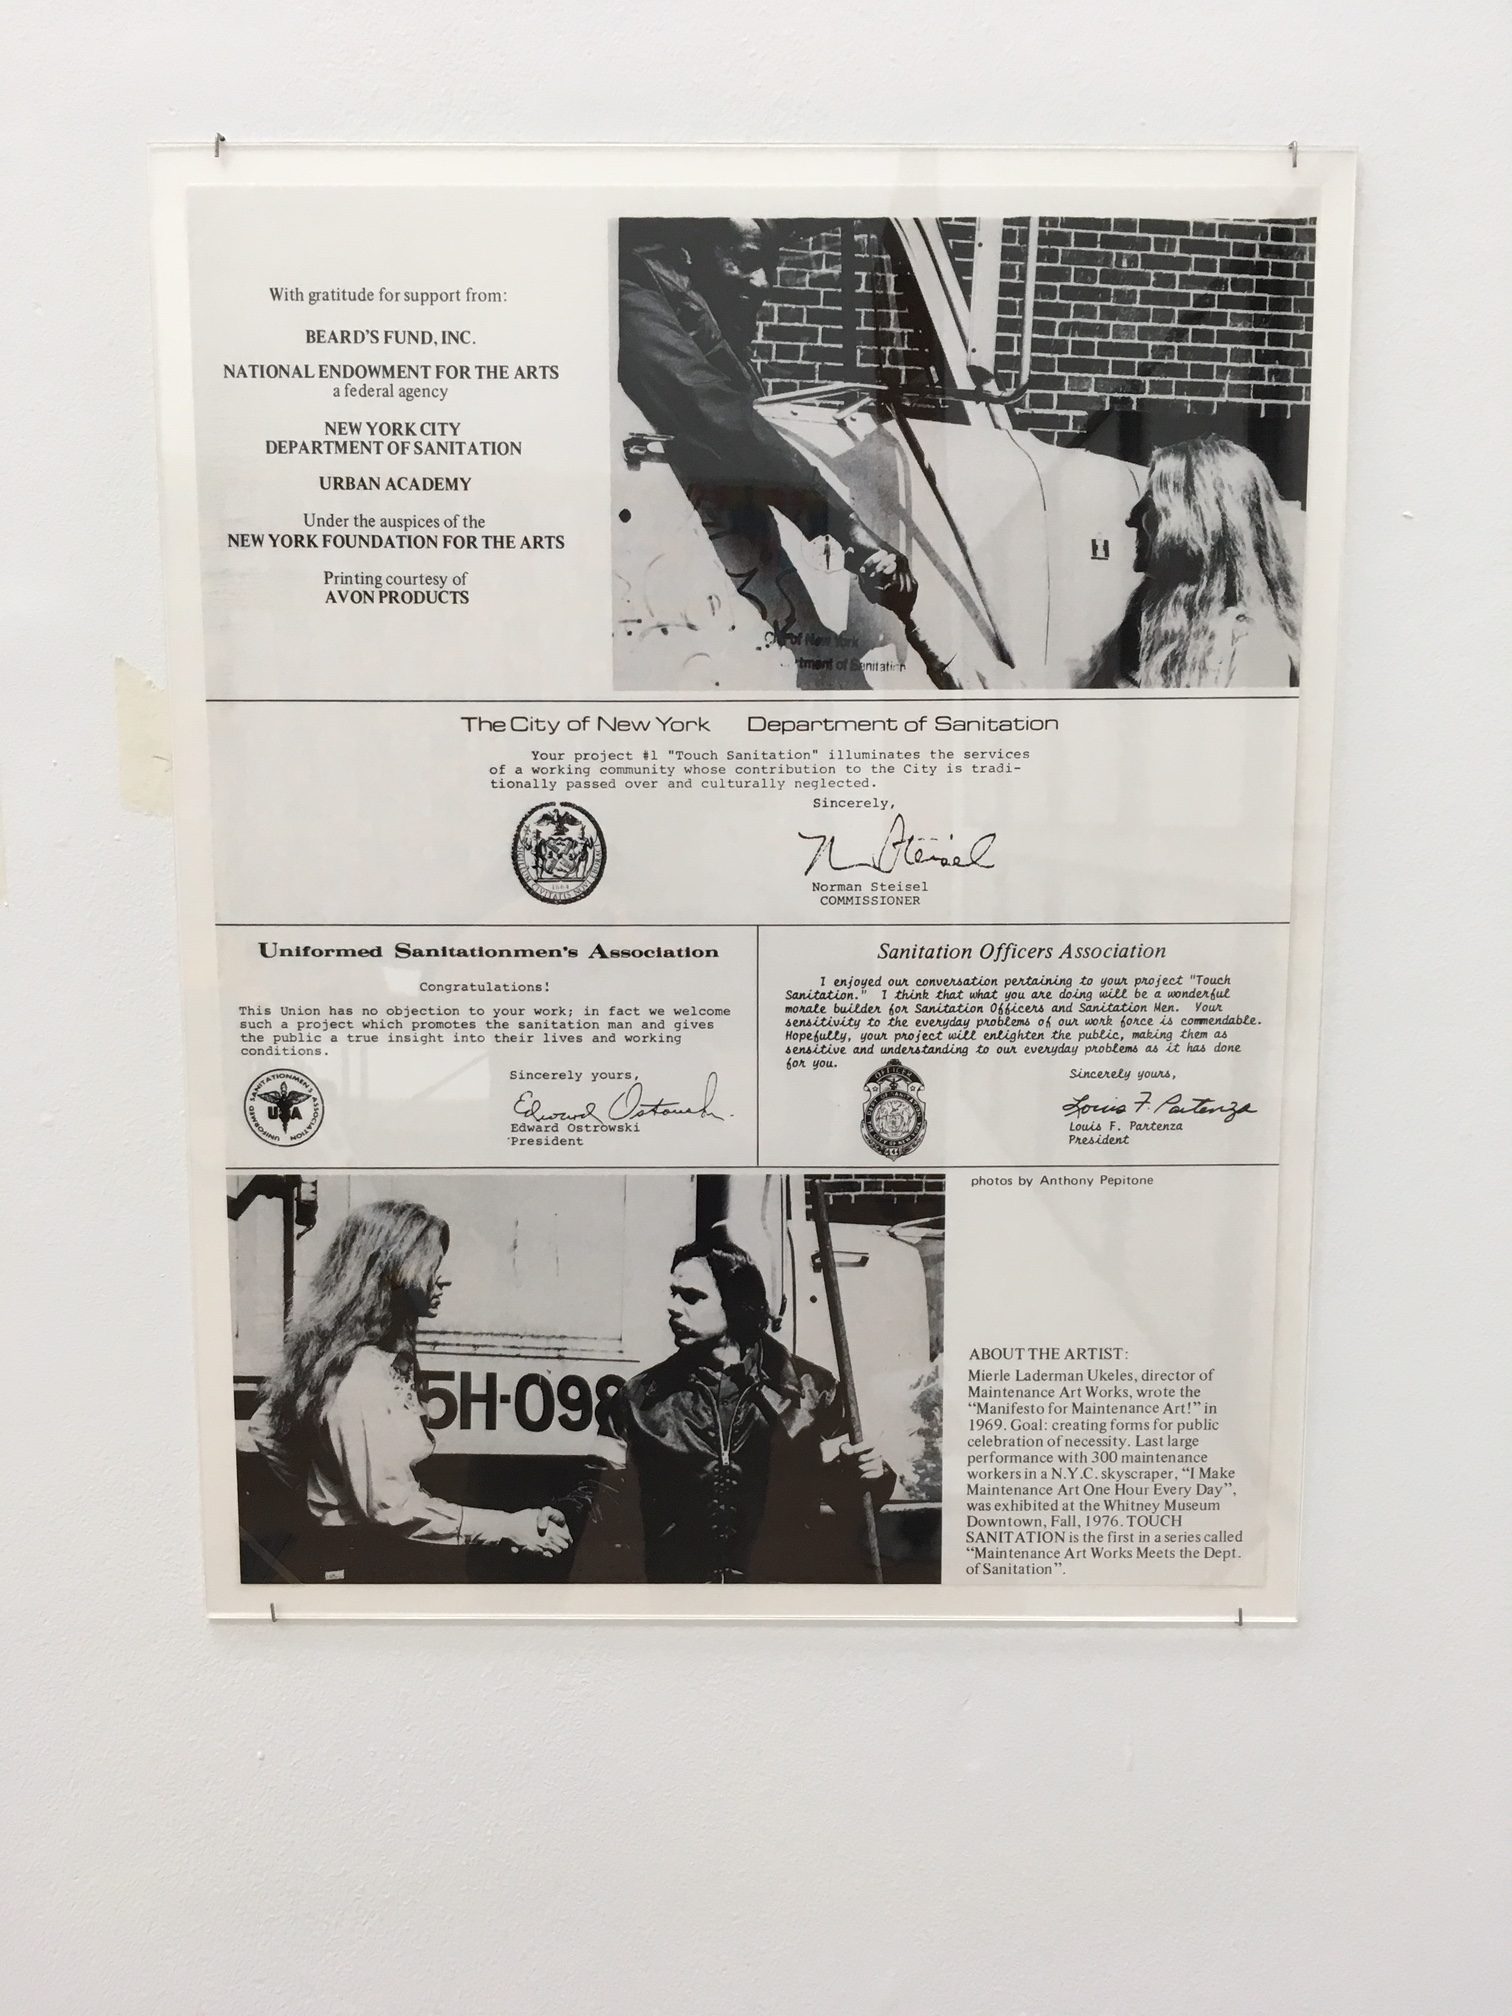
Mierle Laderman Ukeles, mima, 2019
Basil Beattie at mima, 2016, inspecting drawings clipped with plastic-headed tacks with foam washers
Neodymium magnets have tremendous strength and can be used as magnetic dots as small as a few millimetres in diameter. Pairs of magnets have an acrylic, pressure-sensitive adhesive on one side. These photographs by Martin Parr were printed for exhibition at The Hepworth Wakefield and were ‘pinned’ to the wall with magnetic dots via small, steel squares taped to the wall behind. Care should be taken with magnets as they can leave an indentation on soft papers.

Martin Parr images displayed at The Hepworth Wakefield, secured with magnetic dots

Magnetic dot and steel plate

Steel plate attached to wall with 3M duct tape
A final example is when small, postcard sized, art on paper is propped against the gallery wall, sometimes on a custom-made shelf. This can look very effective when multiple works are shown in this way. But be careful because a gust of wind when a door closes or a visitor passes nearby can cause the work to move or even fall. Small, acid-free, gummed tape tabs might be enough to prevent movement or I have used a very fine fishing line to hold down a flap attached to the back of the artwork which can be slotted behind it.

The Art of David Storey at The Hepworth Wakefield, 2016
Conservators should assist artists whenever possible to realise their aesthetic intentions. It helps if the artist, curator and conservator can share a dialogue to ensure the artist’s vision is met whilst keeping the work safe for repeat display into the future. My best advice, from many experiences installing such work, is to keep solutions as simple as possible and bear in mind the art handlers and technicians who have to understand your approach and ultimately install the artworks.